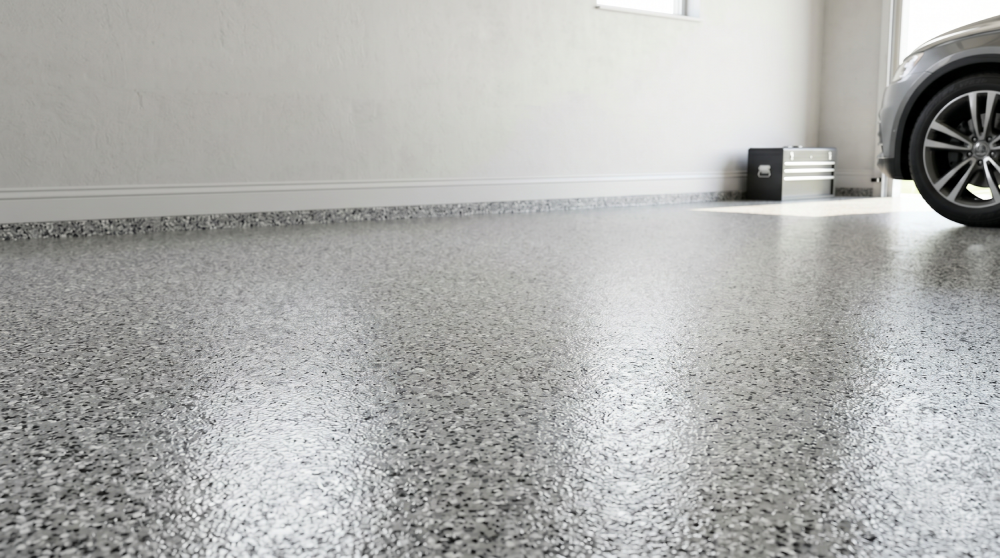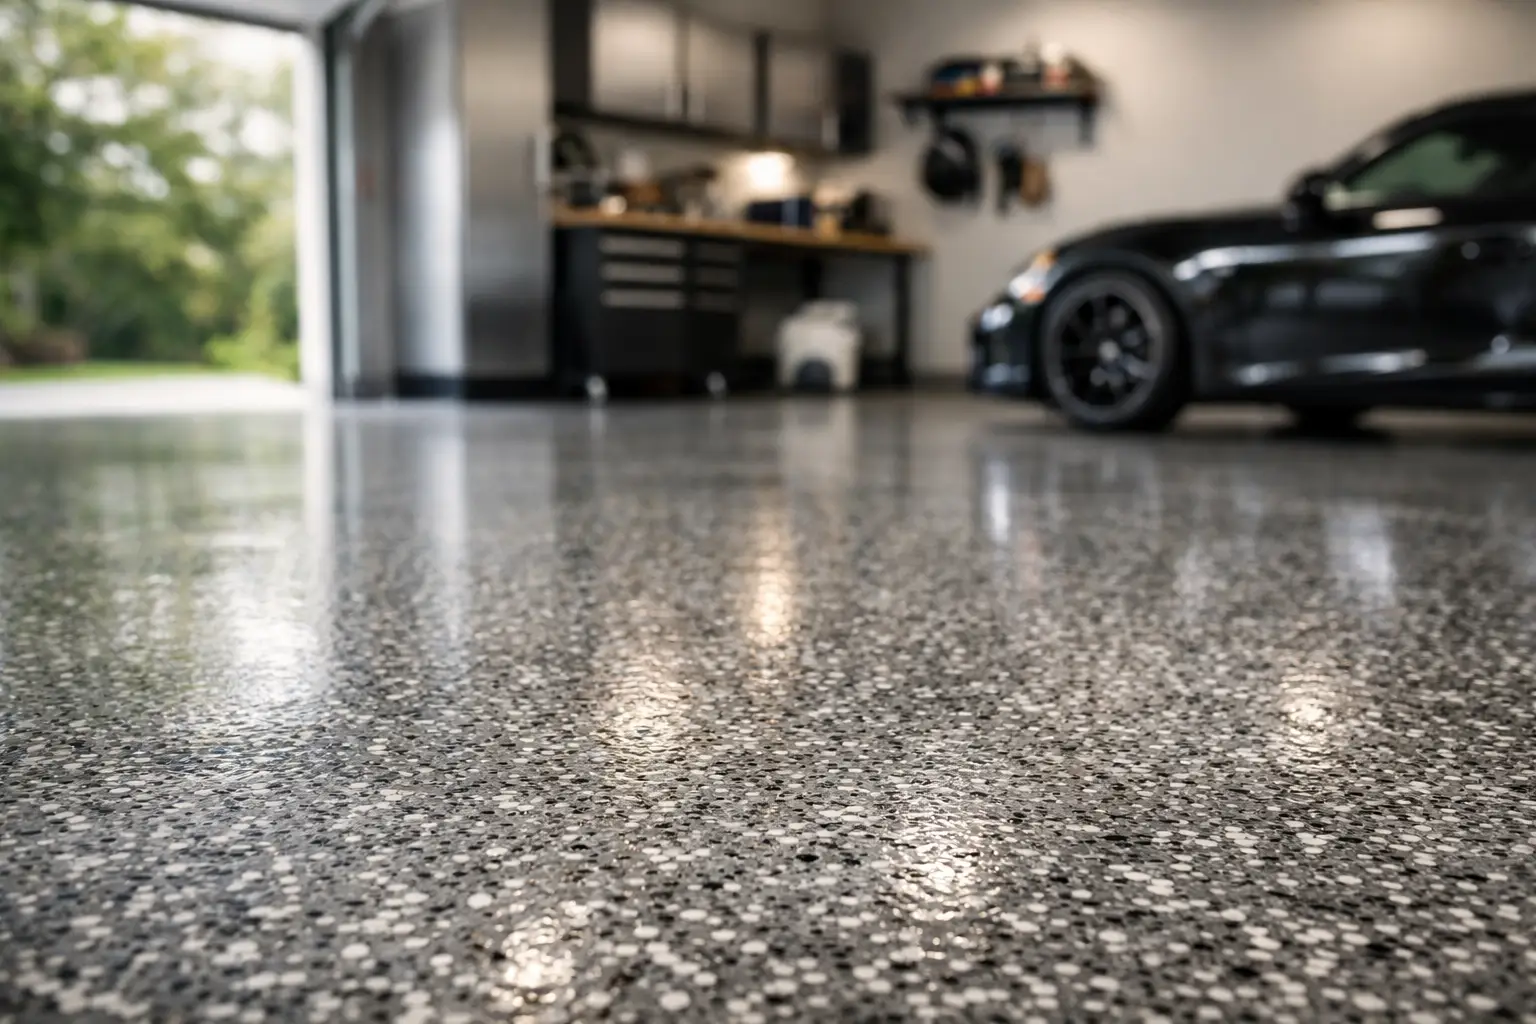

A great epoxy floor rarely fails because of the coating itself. Most problems start below it – in dust left behind, moisture trapped in the slab, old sealers that were never fully removed, or surface prep that looked clean but was not ready to bond. If you want to know how to prepare concrete for epoxy, the answer is simple in theory and exacting in practice: the concrete has to be clean, sound, dry enough, and properly profiled.
That preparation work is what separates a floor that looks sharp for years from one that peels, bubbles, or wears unevenly. Whether the space is a garage, basement, workshop, retail area, or utility room, the slab has to be treated like the foundation of the finish, because that is exactly what it is.
Why surface prep matters so much
Epoxy is not paint in the usual sense. It does not perform well when it is laid over contamination, weak concrete, or a slick surface with no profile. It needs a mechanical bond. That means the slab has to give the coating something solid to grip.
This is where many property owners underestimate the job. A concrete floor can look fine and still be unfit for epoxy. Oil can soak deep into the pores. Tire residue can leave a bond-breaking film. A basement slab may have hidden moisture pressure. Even new concrete can be too smooth or too green for coating.
When prep is done correctly, epoxy has a far better chance of curing evenly, adhering tightly, and delivering the clean, durable finish people expect. That is where long-term value comes from.
How to prepare concrete for epoxy step by step
The process starts with evaluation, not cleaning. Before any grinder or coating comes out, the concrete should be inspected closely.
Check the condition of the slab
Look for cracks, spalling, pitting, soft spots, old patch repairs, paint, glue, curing compounds, and signs of previous sealers. Also pay attention to how the slab has been used. A garage floor with years of oil drips and road salt needs different prep than a freshly poured utility room.
If concrete is actively crumbling or delaminating, epoxy is not the first fix. The substrate has to be stabilized first. Coating over weak concrete only hides the issue for a short time.
Test for moisture
Moisture is one of the biggest reasons epoxy floors fail. If vapor pressure is pushing up through the slab, the coating may blister or lose adhesion. Basements and ground-level slabs are especially worth checking carefully.
A simple surface check is not always enough. If there is any reason to suspect moisture, proper testing is the safe move before moving forward. This is one of those areas where experience matters because the floor may look dry while still creating future problems.
Remove everything that can interfere with bonding
The slab must be free of grease, oil, dust, paint, adhesives, waxes, sealers, and curing compounds. That usually means more than sweeping and mopping.
Degreasing is often needed in garages and work areas. Old coatings have to be removed completely, not just scuffed at the surface. Adhesive residue from old flooring can also create weak spots. If a contaminant remains in the pores, epoxy may not bond evenly.
This stage takes patience. Fast prep usually shows up later as peeling around hot-tire areas, patchy gloss, or edges lifting before the rest of the floor.
Mechanical profiling is the key step
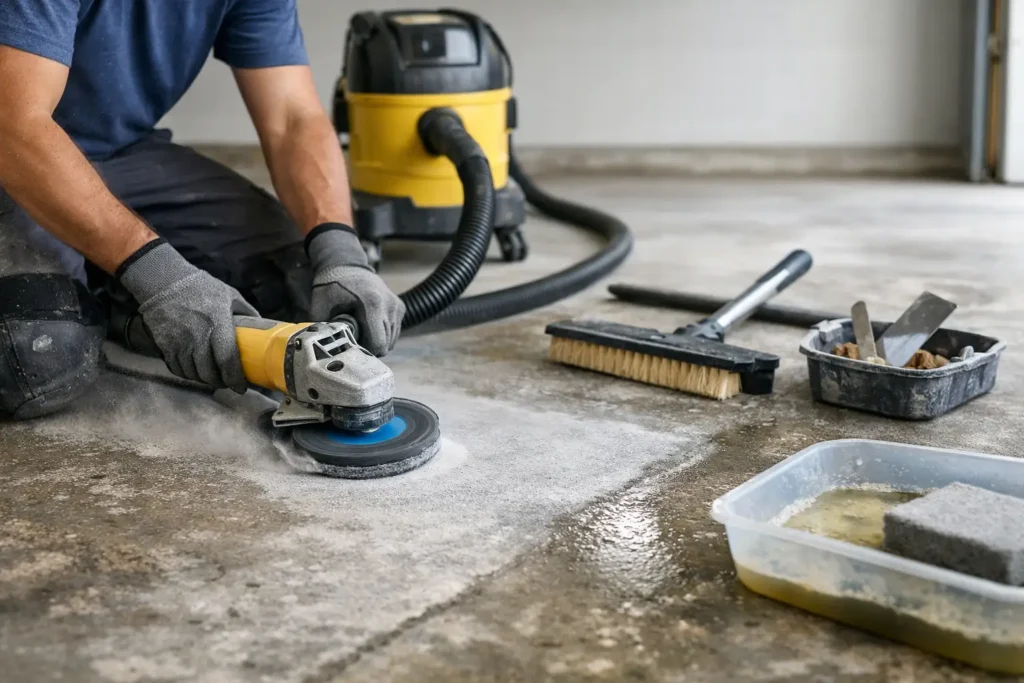
If there is one part of the process that matters most, it is profiling the concrete. Epoxy needs a textured surface so it can bond mechanically. The right profile is usually created by grinding or shot blasting, depending on the slab condition and the coating system being installed.
Grinding vs. acid etching
Grinding is the more reliable professional method. It opens the pores of the concrete, removes surface contaminants, and creates a consistent profile across the slab. It also gives better control over edges, repairs, and uneven areas.
Acid etching is sometimes mentioned as a prep option, but it is less consistent and far more dependent on the slab being already clean and unsealed. If the concrete has oil contamination, curing compounds, or existing sealers, acid often will not solve the real problem. For high-quality epoxy work, mechanical preparation is the stronger approach.
That is one of the biggest trade-offs in this type of project. A lighter prep method may look less expensive upfront, but it increases the risk of failure. A properly ground slab costs more effort at the beginning and usually delivers much better performance.
Profile needs to match the coating system
Not every epoxy system calls for the exact same surface texture. A thin coating may need a lighter profile than a heavy-build system. If decorative flakes, moisture-mitigating primers, or topcoats are part of the floor system, the prep may need to be adjusted accordingly.
This is why professional installers do not treat every slab the same. The concrete condition, use of the room, and the coating system all affect the prep plan.
Repair cracks and damaged areas before coating
Once the slab is clean and properly profiled, repairs can be made more accurately. Cracks, pits, and spalled sections should be filled with repair materials compatible with the coating system.
Not every crack should be treated the same way
Hairline surface cracks may be stable and mostly cosmetic. Larger cracks may indicate movement, settlement, or stress in the slab. If there is active movement, a rigid epoxy repair may not hold the same way it would on a stable crack.
That is where a careful assessment matters. Some imperfections can be filled and blended smoothly for a clean finish. Others require a more strategic repair plan so the floor performs well over time.
Repairs should be flush and solid
Any patch or crack repair needs to be fully cured, bonded, and ground smooth if necessary. A proud patch line or soft filler will telegraph through the finished floor. On premium epoxy projects, these details matter. Clean lines and a uniform surface are part of the final look.
Clean again before applying epoxy
After grinding and repairs, there will be dust. Even with professional dust-control equipment, the slab needs a final cleaning step before primer or base coat goes down.
This usually means vacuuming thoroughly and checking corners, joints, and edges where debris collects. Fine dust is enough to weaken adhesion. The floor should feel clean and properly opened, not chalky or dirty.
This is also the moment to confirm that no new contamination has been introduced. Foot traffic, spilled materials, or lingering repair dust can all interfere with the next stage.
Timing matters more than many people expect
Concrete prep is not just about what you do. It is also about when you do it. Temperature, humidity, and slab condition affect the coating window.
Fresh concrete generally needs adequate cure time before epoxy is applied. On the other hand, an older slab that has been exposed to years of use may need deeper preparation because contamination has had time to settle into the pores.
Weather can also affect the job, especially in Pennsylvania where seasonal temperature swings and moisture conditions can change how a slab behaves. In garages and basements, that matters. A floor should not be coated simply because the calendar says it is time. It should be coated when the slab is truly ready.
Common prep mistakes that lead to failure
Most epoxy problems can be traced back to a short list of issues. The slab was not tested for moisture, the surface was cleaned but not mechanically profiled, oil contamination was underestimated, repairs were rushed, or dust was left behind before application.
Another common mistake is assuming all concrete is the same. A smooth new slab, an old garage floor, and a basement floor with prior water exposure each require a different level of care. Good preparation is not generic. It is tailored to the actual condition of the surface.
That is why epoxy installation should be viewed as a system, not just a product. The prep, repairs, primers, build coats, and topcoats all work together. When one part is skipped or rushed, the whole floor is compromised.
When professional prep makes the biggest difference
Property owners often ask whether epoxy is a coating job or a concrete job. The honest answer is both, but the concrete work comes first. If the slab has cracks, moisture concerns, old coatings, heavy staining, or uneven wear, professional prep can make the difference between a floor that lasts and one that needs to be redone.
For homeowners and commercial clients who care about clean finishes and long-term performance, preparation is where quality shows up first. At Master Builder Home Improvement LLC, that craftsmanship-first approach is what turns epoxy from a cosmetic upgrade into a durable surface built to last.
A good epoxy floor starts long before the coating is mixed. It starts when the concrete is treated with the level of care the finished result deserves.