

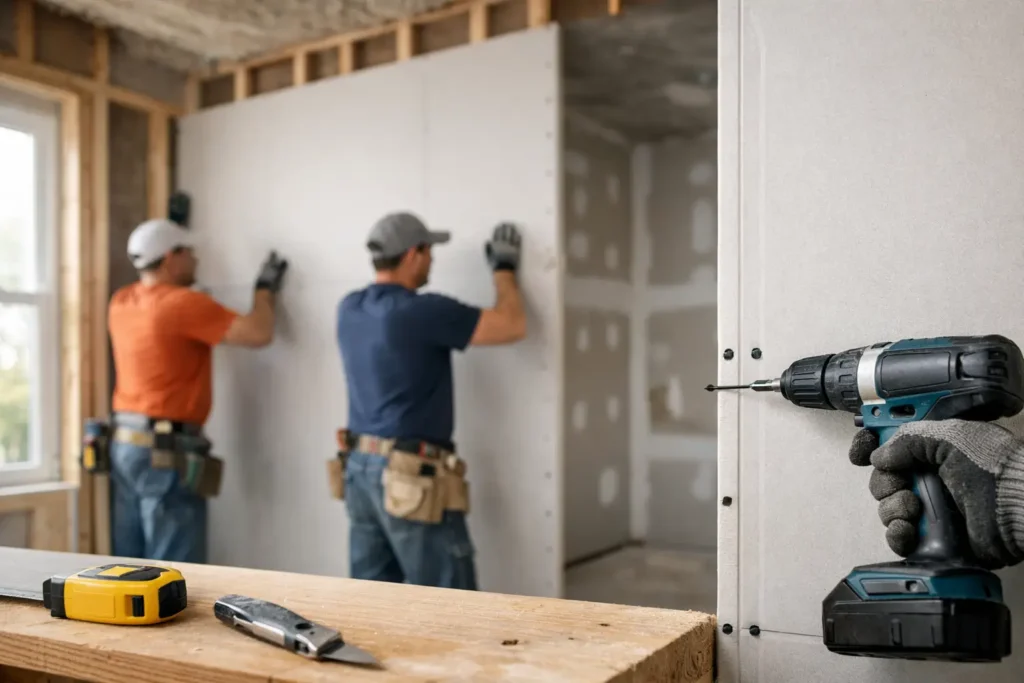
A newly framed room can look close to finished, but drywall is where the space begins to show its true quality. Straight walls, clean corners, properly placed seams, and a smooth paint-ready surface all depend on careful planning and disciplined installation. This drywall installation guide explains what separates a durable, professional result from a wall that shows cracks, uneven joints, or visible imperfections after the project is complete.
For homeowners, landlords, and commercial property owners, drywall work affects more than appearance. It helps create finished rooms that are easier to paint, furnish, maintain, and present to future buyers or tenants. Whether the project involves a basement finish, a bathroom renovation, a rental turnover, or a new commercial layout, the details behind the wall surface matter.
Start With the Structure Behind the Drywall
Drywall installation should not begin until the framing is ready. Studs and ceiling joists need to be properly aligned, securely fastened, and laid out to support the edges of each panel. If framing is bowed, twisted, or out of plane, drywall can follow those imperfections. A skilled installer identifies these conditions before hanging panels rather than attempting to hide major issues with joint compound later.
This stage also includes confirming that electrical boxes, plumbing, HVAC components, insulation, and blocking are in the correct locations. Walls may need backing for cabinets, grab bars, shelving, televisions, handrails, or commercial fixtures. Adding that support before drywall is installed is simpler, cleaner, and more reliable than opening a finished wall later.
In Lehigh Valley homes, basement projects deserve additional attention. Below-grade spaces may have moisture considerations, exterior foundation walls, mechanical systems, and irregular framing conditions that affect material selection and layout. The right approach depends on the room’s use and the conditions already present.
Choose Materials for the Room, Not Just the Wall
Standard drywall is appropriate for many dry interior spaces, but it is not the right choice for every area. Material selection should match the environment and the performance needed from the finished wall or ceiling.
Moisture-resistant panels are commonly used in areas with higher humidity, such as bathrooms, laundry rooms, and certain kitchen wall applications. Fire-rated drywall may be required in specific assemblies, including garage separations, multifamily properties, utility areas, and commercial spaces. Sound-control assemblies can also be valuable between bedrooms, home offices, apartments, or business suites where privacy and noise reduction matter.
Panel thickness affects performance as well. Thicker board can provide a more solid feel, improve sound control, and help cover minor framing variation. Lighter panels may be suitable in straightforward applications, but the best choice depends on the wall height, framing spacing, ceiling conditions, code requirements, and desired finish.
A detailed estimate should identify the materials and scope clearly. That gives property owners a better understanding of what is being installed and prevents confusion between a basic wall repair and a full finishing system built for long-term use.
Panel Layout Determines How Well the Walls Finish
The hanging stage is not simply a matter of covering studs. Professional drywall installation requires a layout that minimizes unnecessary seams, avoids weak joint patterns, and places factory edges where they can be finished cleanly.
Panels are typically installed to create long, continuous runs where possible. Seams should be staggered rather than lined up in one continuous vertical path. Openings for doors, windows, electrical boxes, and recessed fixtures must be measured and cut accurately. Poorly placed seams around openings are more likely to develop cracks because those areas experience movement and stress.
Ceilings are generally addressed before walls. This helps support ceiling panel edges and produces cleaner intersections. At wall and ceiling transitions, installers also consider whether a finished square corner, trim detail, or other design feature is planned. Those decisions influence the final look of the room.
Fastener placement is another quality checkpoint. Screws must hold the panel securely without breaking through the paper face. Fasteners that sit too proud can show through the finish, while overdriven screws weaken the hold and may require repair. Proper spacing and consistent fastening help prevent movement that can lead to nail pops or joint cracks over time.
Taping and Finishing Create the Visible Result
Most people judge drywall by the finished surface, not by the panels underneath. That makes taping, mudding, sanding, and corner finishing some of the most important parts of the work.
Joints are reinforced with tape and built out gradually with joint compound. The goal is not to create a thick patch over every seam. It is to feather the compound wide enough that the joint disappears under normal lighting once primed and painted. Each coat needs the right drying conditions and careful sanding before the next stage begins.
Corners require the same level of attention. Outside corners often receive corner bead to create a straight, durable edge. Inside corners must be taped cleanly so the angle remains sharp without excessive buildup. Around doors, windows, and transitions, a balanced finish keeps trim installation and painting looking precise.
The finish level should match the room. A standard painted wall in a low-traffic area may not need the same level of refinement as a dining room with large windows, a high-end kitchen, or a commercial lobby with bright overhead lighting. Glossy paint and strong side lighting reveal more surface variation than flat paint. Discussing lighting and paint selection before final sanding helps establish the right expectations for the project.
Drywall Installation Guide: Plan for Paint and Trim Early
Drywall is a foundation for the finishes that follow. Paint, baseboards, crown molding, cabinets, tile, doors, and flooring all meet the wall surface in some way. Planning these details early improves the final appearance and avoids unnecessary rework.
For example, cabinet walls may need added blocking before drywall. Tile installations may require a different wall board or waterproofing system in wet areas. New flooring can affect baseboard height and the look of wall-to-floor transitions. If a room will receive Venetian plaster, specialty paint, or a dark color with a sheen, the drywall surface needs preparation appropriate to that finish.
Priming is also part of a complete wall system. New drywall and joint compound absorb paint differently. A quality primer creates a more uniform base, supports better paint coverage, and helps the final color look consistent. Skipping proper preparation can leave joints flashing through paint or create an uneven sheen across the wall.
Common Problems That Careful Work Prevents
Some drywall issues do not become obvious until the room is painted and occupied. Cracks at seams, fastener pops, uneven corners, and visible joint lines often trace back to conditions that should have been addressed during installation.
Movement in framing can cause cracks, particularly near door and window openings. Moisture can damage ordinary drywall in unsuitable locations. Inadequate backing can leave edges unsupported. Rushed sanding can create ripples that stand out when afternoon sunlight hits the wall. These are not always signs of a single mistake. They can result from the combined effect of framing, material choices, application technique, drying time, and finish expectations.
A professional contractor evaluates the whole assembly. That means looking beyond the immediate hole, crack, or unfinished framing and considering how the repaired or new wall will perform after paint, trim, fixtures, and everyday use are added.
What to Expect From a Professional Drywall Scope
A clear drywall scope should define the work area, the type of board being used, any framing or backing needed, the expected finish level, and whether painting or trim work is included. This is especially helpful for landlords coordinating unit improvements, investors preparing a property for sale, and business owners planning work around operations.
Clean project management matters as much as technical skill. Drywall cutting and sanding create dust, so containment, floor protection, and work-area cleanup should be part of the plan. Communication also matters when a project involves multiple trades. Drywall work often sits between framing, electrical, plumbing, insulation, painting, flooring, and finish carpentry, making coordination essential.
Master Builder Home Improvement LLC approaches drywall projects with the same focus used across remodeling work: detailed planning, clean workmanship, durable materials, and finishes that support the value of the property.
A well-finished wall should not call attention to itself. It should provide a clean, solid backdrop for the way you live, rent, work, or welcome customers into the space. When drywall is planned around the room’s conditions and finished with care, the result supports every improvement that comes next.